Friday, June 22, 2012

Alright, so its been a while since I updated, so here we go...

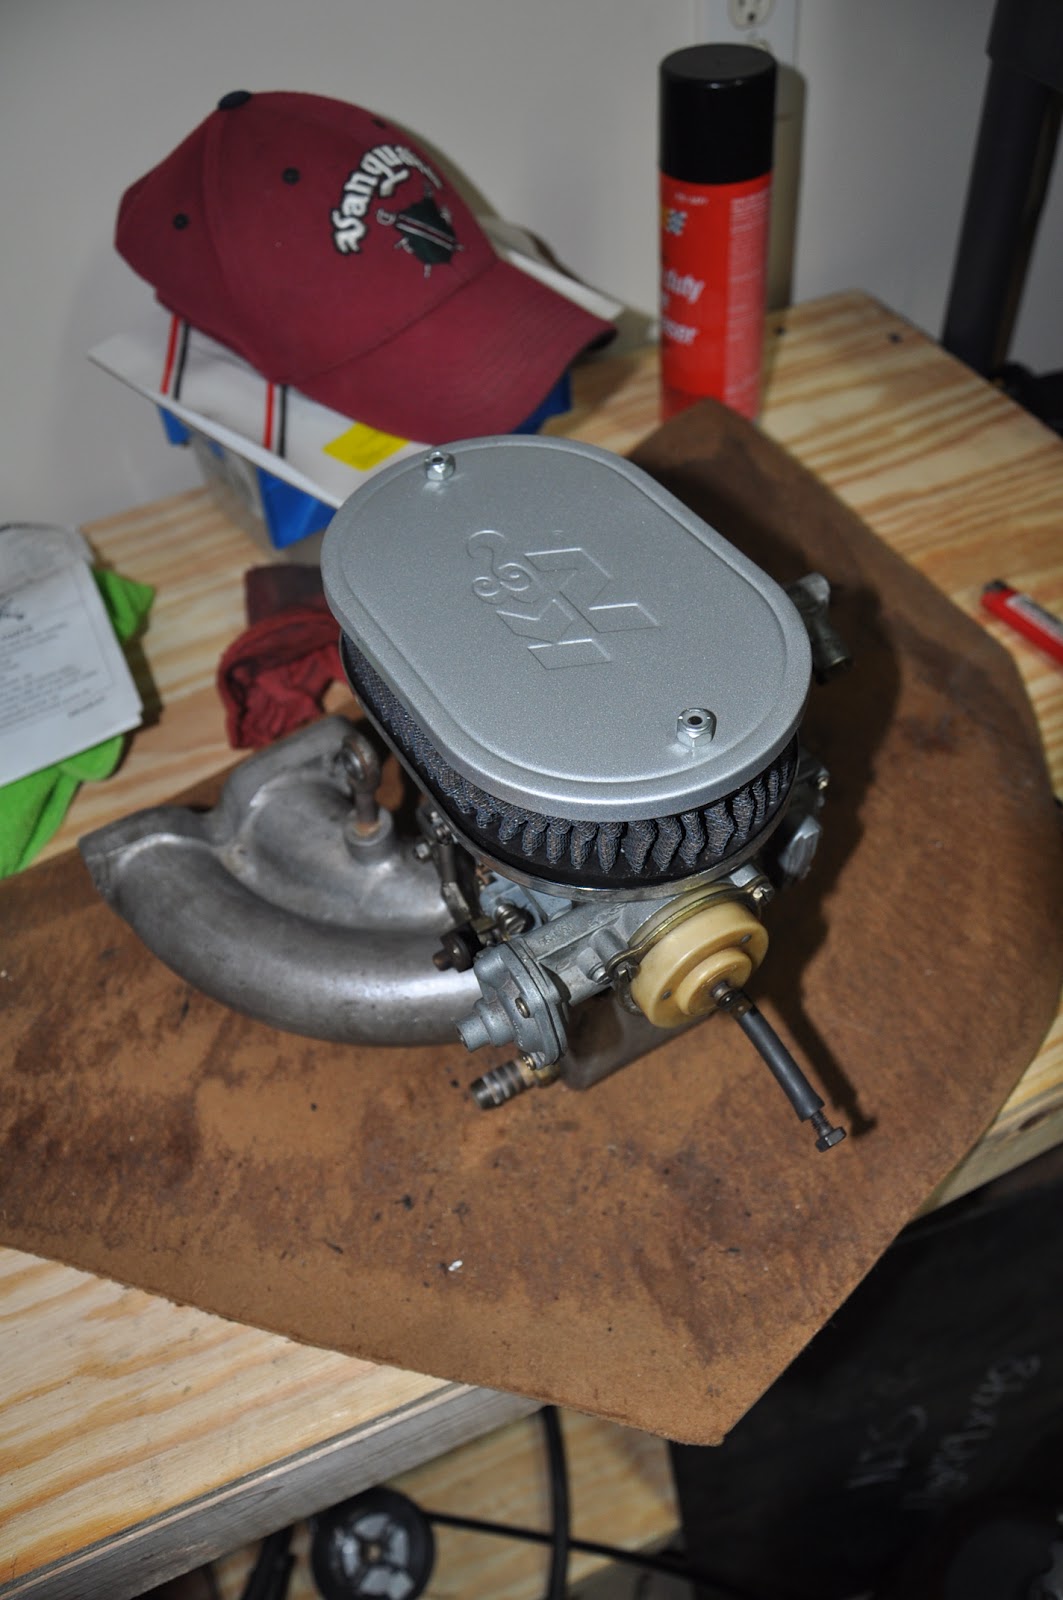
Since my last update, I have cleaned up the wiring, installed the horns and the lowering springs from V-Performance.  I also painted the valve cover fan and fan pulley.  I decided to repaint the air cleaner cover, and add a couple clear coats, I am going to pull the heater, strip it again and repaint.  I clear coated all the other parts and now, seeing that they are all nice and shiney, I want to refinish it as well.

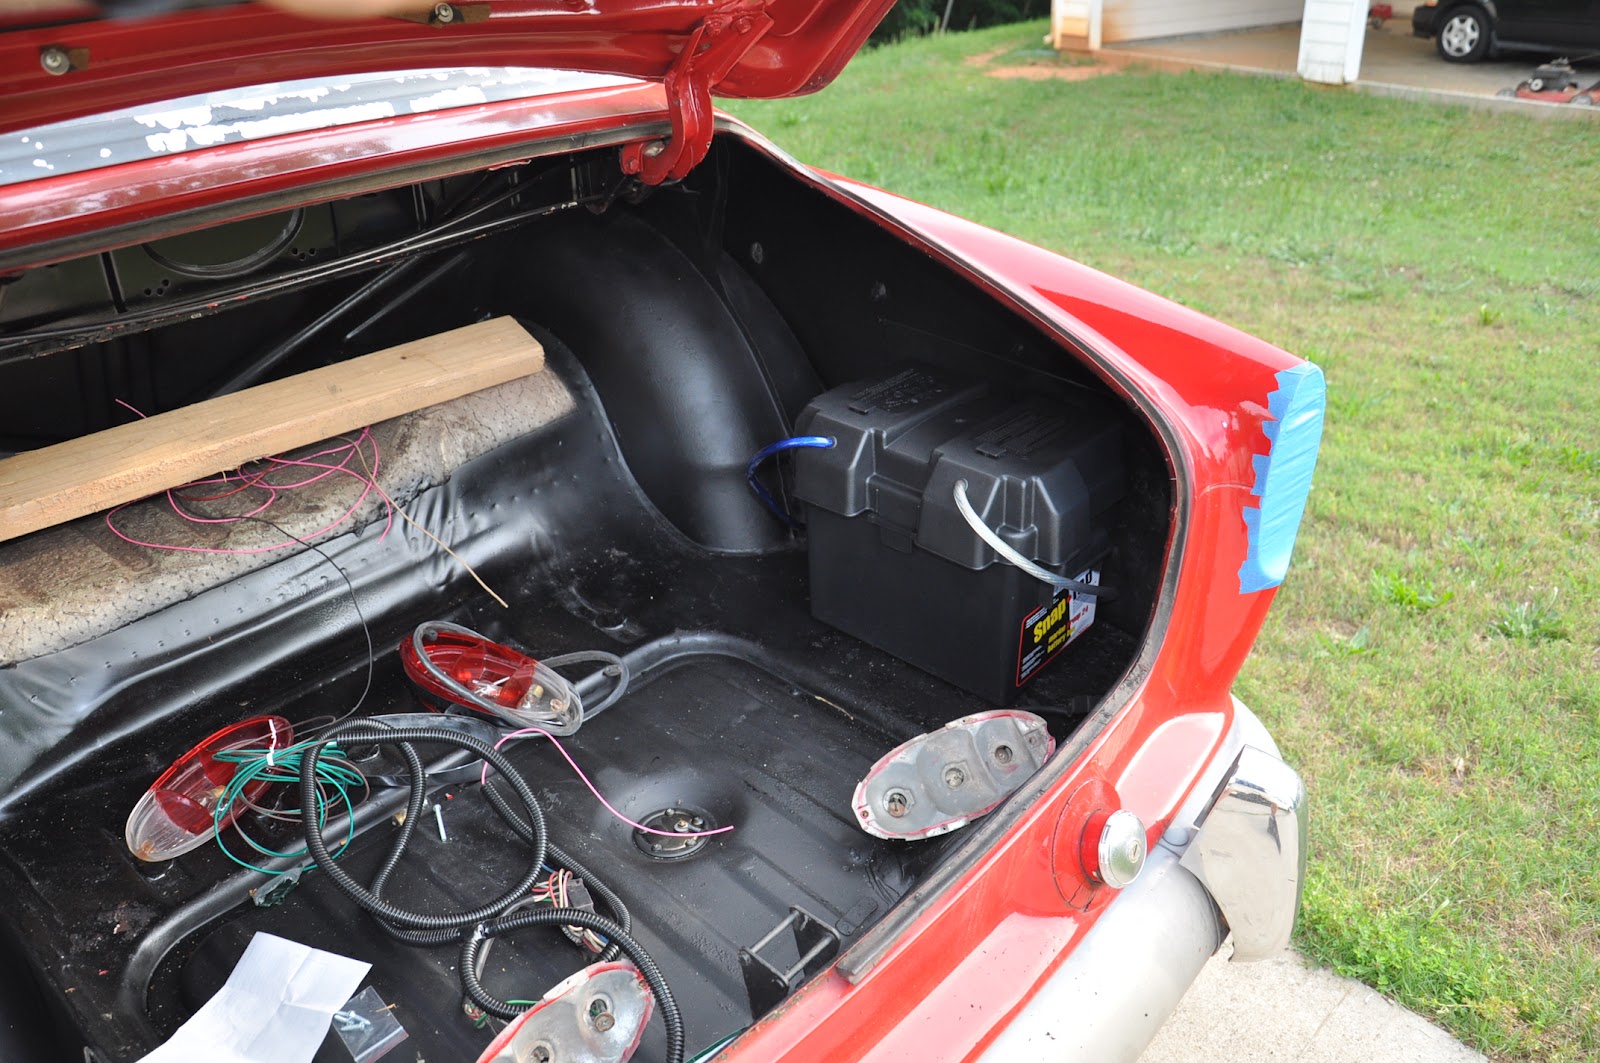
Here are a couple of shots of the headlight relays installed.  I have loomed them up and straightened everything up since then.  I also got the reverse relay installed in the trunk, along with the final rear battery wiring.  I am going to take pictures of all that and a few other things for an update coming soon.


A couple of shots of the painting process, a couple coats of high heat primer, enamel and clear coat.  In a ouple weeks I will have finished the engine paint, and I will throw up some shots of it all together.  A note about clear coating...keep your coats very thin, or else they look milk coated like the oil filler cap.  It was later stripped back down and painted silver to match the valve cover.


finally got the V-Performance lowering springs put in, front and back.  I haven't noticed much of a drop in ride height.  But they need to be driven and settle in a bit before the full drop will be visible.  I also painted all the front suspension with some high heat paint to clean it all up.  While there is little diffierence in the area of the wheel well, it seems that the entire car looks lower to the ground. 


Here is a shot of the horns.  Got them from a friend who worked for the manufacturer.  They were on my wagon, but I thought the sedan would do them more justice.  They are 118 db euro horns.


Wednesday, May 16, 2012

Wiring days 2-4. 

I have continued to do my best to install the Painless (they should change the name to nearly, or almost Painless) wiring kit.  I have run into a few snags here and there, mainly stemming from the fact that the harness was not specifically made for the vehicle and did not come ready with a few wires that were needed.  I have made some adaptations of the harness on the fly, just hoping that they work. 

Here are a few shots of whats been going on...

We start with the large mess of wire that would be running into the engine bay, the forward lighting, ignition, alternator, choke and horn wires mainly.  I sectioned them off and tied some of them together to clean up the appearance a bit.


This is the distribution block for the main power to the starter, fuse block and the return wire from the alternator.  There will be a 4 ga wire coming in from the trunk and it will be split into separate wiring (8 ga for the stater and 12 ga for the others).


The battery box installed in the trunk, mocked up with some scrap wire just to show what the final product will look like, well minus the goofy label on the front of the box.


Some of the wiring getting loomed up, you can see the headlight and horn cluster to the right, with the offshoot for the ignition coil.  I am still trying to figure a good, economical and aesthetically pleasing way of the securing the loom on the fender.  Any ideas would be appreciated!


Again, the looming.  This is the left side containing the other lighting wires, and the offshoot for the choke wire.


A shot of the final install of the ignition coil, which will ultimately need to be replaced due to the negative post.  I was tightening the nut, and trying to be as careful as I could, when the black plastic housing portion cracked around the negative post. 


Another shot of the distribution block mounted on the inside bottom of the battery box.


The wired and taped lighting switch.  Several additions need to be made to the wiring, accounting for instrument panel lighting. 


I went ahead and wired the headlight relays.  Two SPST relays, one for the low beam and one for the high beam.  the final taping and mounting will be updated in my next post, when I will be cleaning up all the under dash wiring.


 The dimmer switch, which took some figuring when adding the relays haha.


And finally the wired and taped up Fan and Wiper switches.  The wiper switch went pretty close to plan, except for the fact that I have no washer fluid pump in the vehicle.  If I choose to add one later, I shouldn't have any problem at all wiring it in.


Finally had a chance to remove all the old purple tint.  Looks a lot nicer, even with all the adhesive that left behind.  I will be investing some time with a large can of acetone and a few rags on this one.


Check back soon, as the wiring continues.  The lighting section is next on the list.  That will include wiring the reverse lights (which are not accounted for the in the wiring harness).

Thanks for taking look!

Brad

Tuesday, May 8, 2012

Day #1 of Wiring....

I was looking for a good place to mount the fuse panel, and I was failing.  Then I thought, since I am moving the battery to the trunk of the car, I can mount it to the inside of the battery box.  I drilled the holes, kind of, ha ha.  Due to the odd angle of the drill and the inability of the bit to start a hole, two of them were off and had to be re- drilled.  No worries, some rtv will fix it haha.  I will get a better picture of the engine side once it dries.


Here is what the mounting looks like from the inside of the car, I am planning to build panels to hide it all when I start to refurbish the interior.  The fuse block fit nicely on the inside of the battery box.  And the panel doesn't need to be grounded, so I am thinking that it can be mounted to any location on the firewall without regard to where a ground wire would have to be run or mounted.


Part of the engine section of the wiring.  This is minus the full engine section and lighting.


Started separating the sections and getting a rough routing of the wiring.


I figured it would be easier to tie the new wiring to the old and pull it through the roof.  Here it is ready to go.


The tail section, including a reverse light wire that I had to supply.  I did this before deciding to loom the section, so, I started over and used loom.  It was pretty simple.


Check back soon to see the next day of wiring.

Brad

Friday, May 4, 2012

Here's an update, I have only had a couple hours over the last few days to do any work on the 122, but I have gotten a couple of things finished!!

First off, I finally dipped, cleaned and re-built the carb.  With new gaskets and a cleaned up manifold, I figured I would go ahead and put it all back together.  I was pleased with my first ever carb re-build.  The true judge will be when it is back in the car and functions, ha ha.  I also finally got to fit the painted air cleaner cover!


I also finally got to put the heater back together.  All new gaskets, thanks to the folks at Swedish Treasures (www.swedishtreasures.com).  By the way, those folks had a ridiculously fast ship time, I received them 4 days after ordering.  Everything went back together pretty easily.  I threw a little RTV between the two halves of the box, due to a slight uneven fit (I corrected the fit as much as possible beforehand).  As soon as I can afford the updated 12V blower, It will be compete!!


I am hoping to start the re-wire next week.  I am going to post quite a few detailed pics on that one.  Please don't expect to see it completed too quickly. 

Brad

Thursday, April 26, 2012

Ok, so, I received the springs I ordered from Vintage Performance Development.  They look great.  I figured that since I would be taking the front suspension apart, this would be a great time to clean and paint the components.  A few cans of engine degreaser and several gallons of good old H2O, this is what I was left with...


I also figured it would be a great time to shoot the brake calipers with a little VHT caliper paint.  I am going to apply several coats, this pic is after just two coats.  The paint works very well.  

So, I have pretty much finished up the painting of the engine compartment, until I am able to repair the couple of rusty spots that is.  Picked up a welder, so it shouldn't be too long ha ha.  (I know that's what we all say!)

As you can see, there are still a few rough patches, but I believe that it is coming along nicely.  Just some high heat primer with a coat of Rustoleum High Heat Enamel.


I have also completed painting some of the engine compartment components.  The heater box had a few issues and I am not completely happy with the finish, but I do not want to go back and blast it again to re paint.  All the silver was done with a Rustoleum High Heat engine enamel.  I have re-sealed the flange where the box bolts back up to the engine bay, waiting on new gaskets before I can reinstall. 


I also (busy day!!) finished up the patterns for my door panels and kick panels.  I have been working on removing the rear side panels, but as we all do, I have about 800 projects going on at any given time!! Here is a shot of the pattern still hanging on the door.  I hope no one plans to criticize my taping ha ha.